Goldmund Reference II Turntable User Manual
Browse online or download User Manual for Audio turntables Goldmund Reference II Turntable. Goldmund Reference II Turntable User's Manual
- Page / 21
- Table of contents
- BOOKMARKS
Summary of Contents
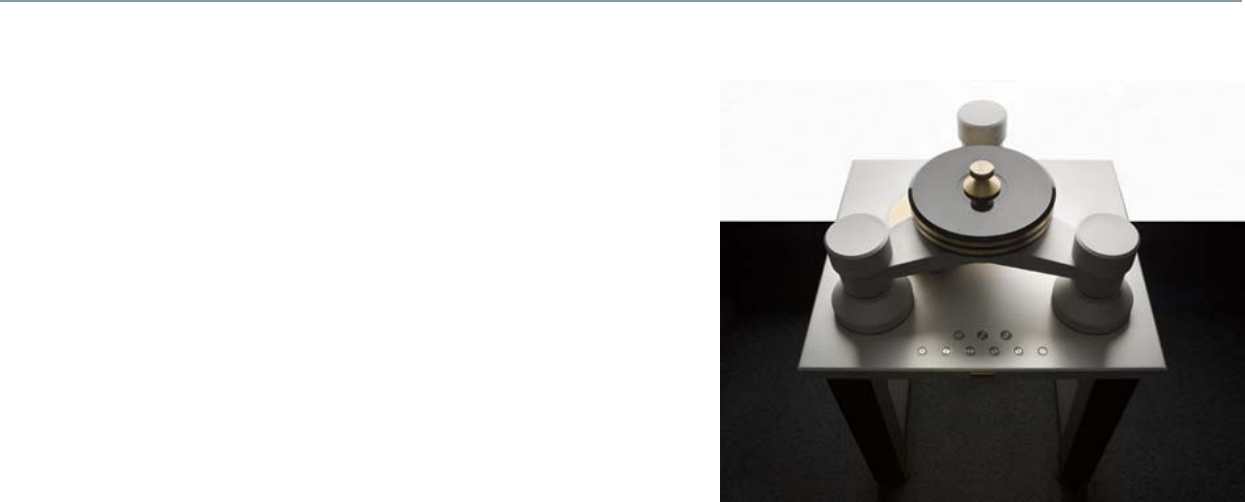
ASSEMBLY & USER MANUAL GOLDMUND REFERENCE II
The Goldmund Reference II – Assembly manual 10 STEP 9 Box 3: the tripod In the box n°3, take the last cylinder foo
The Goldmund Reference II – Assembly manual 11 STEP 10 Adjust the 3 springs: Turn the springs has shown. Correct p
The Goldmund Reference II – Assembly manual 12 STEP 11 Take 4 rubber seals and insert them in one of the 3 holes on
The Goldmund Reference II – Assembly manual 13 STEP 13 For this step, you need to be 2 persons. One person take car
The Goldmund Reference II – Assembly manual 14 STEP 14 Take the tripod and mount it as shown on the left picture: The arm w
The Goldmund Reference II – Assembly manual 15 STEP 15 Screw, but not over-tight, the tripod to the feet with the
The Goldmund Reference II – Assembly manual 16 STEP 17 Add some oil contained in the bottle in the axis shaft. IMP
The Goldmund Reference II – Assembly manual 17 STEP 20 Mount the platter on the center axis. This should be done wi
The Goldmund Reference II – Assembly manual 18 STEP 22 Put the 3 top cylinders on the tripod. STEP 23 Check the
The Goldmund Reference II – Assembly manual 19 4 TONE ARM ASSEMBLY The Goldmund Reference II can be used with most existing ton arms, both pivoting
Table of Contents 1. UNPACKING 4 2. CHOICE OF YOUR TURNTABLE LOCATION 4 3. TURNTABLE ASSEMBLY 5 4. TONE ARM ASSEMBLY 19 5. USER INSTRUCTIO
The Goldmund Reference II – Assembly manual 20 5 USER INSTRUCTIONS Now your turntable is assembled, you can start using it: 1- Switch on the power
The Goldmund Reference II – Assembly manual 21 6 CLEANING AND MAINTENANCE There is no special maintenance to be done on your turntable. Clean with d
The Goldmund Reference II – Assembly manual 3 I M P O R T A N T ! The Goldmund Reference II you just purchased represents a summit in te
The Goldmund Reference II – Assembly manual 4 1 UNPACKING Your turntable is shipped in 4 separate wood boxes labeled 1 to 4 and 1 carton box labeled
The Goldmund Reference II – Assembly manual 5 3 TURNTABLE ASSEMBLY STEP 2 Box 2: the Table top Unscrew and remove th
The Goldmund Reference II – Assembly manual 6 STEP 3 Box 3: Tripod Unscrew and remove the top cover of the wood box n°3.
The Goldmund Reference II – Assembly manual 7 STEP 5 Box 3: Tripod Free the tripod assembly from the box and set it on
The Goldmund Reference II – Assembly manual 8 STEP 6 Box 3: Tripod In the box n°3, you will find the 3 cylinder feet of
The Goldmund Reference II – Assembly manual 9 Box 4: Various Parts In the box n°4, you will find: - 1 platter - 1 mo
© 2020, manymanuals.com. All rights reserved. | 0.430 s |
 Manymanuals.com
 Manymanuals.de
 Manymanuals.fr
 Manymanuals.it
 Manymanuals.pl
 Manymanuals.cz
 Manymanuals.es
 Manymanuals-pt.com
Comments to this Manuals